
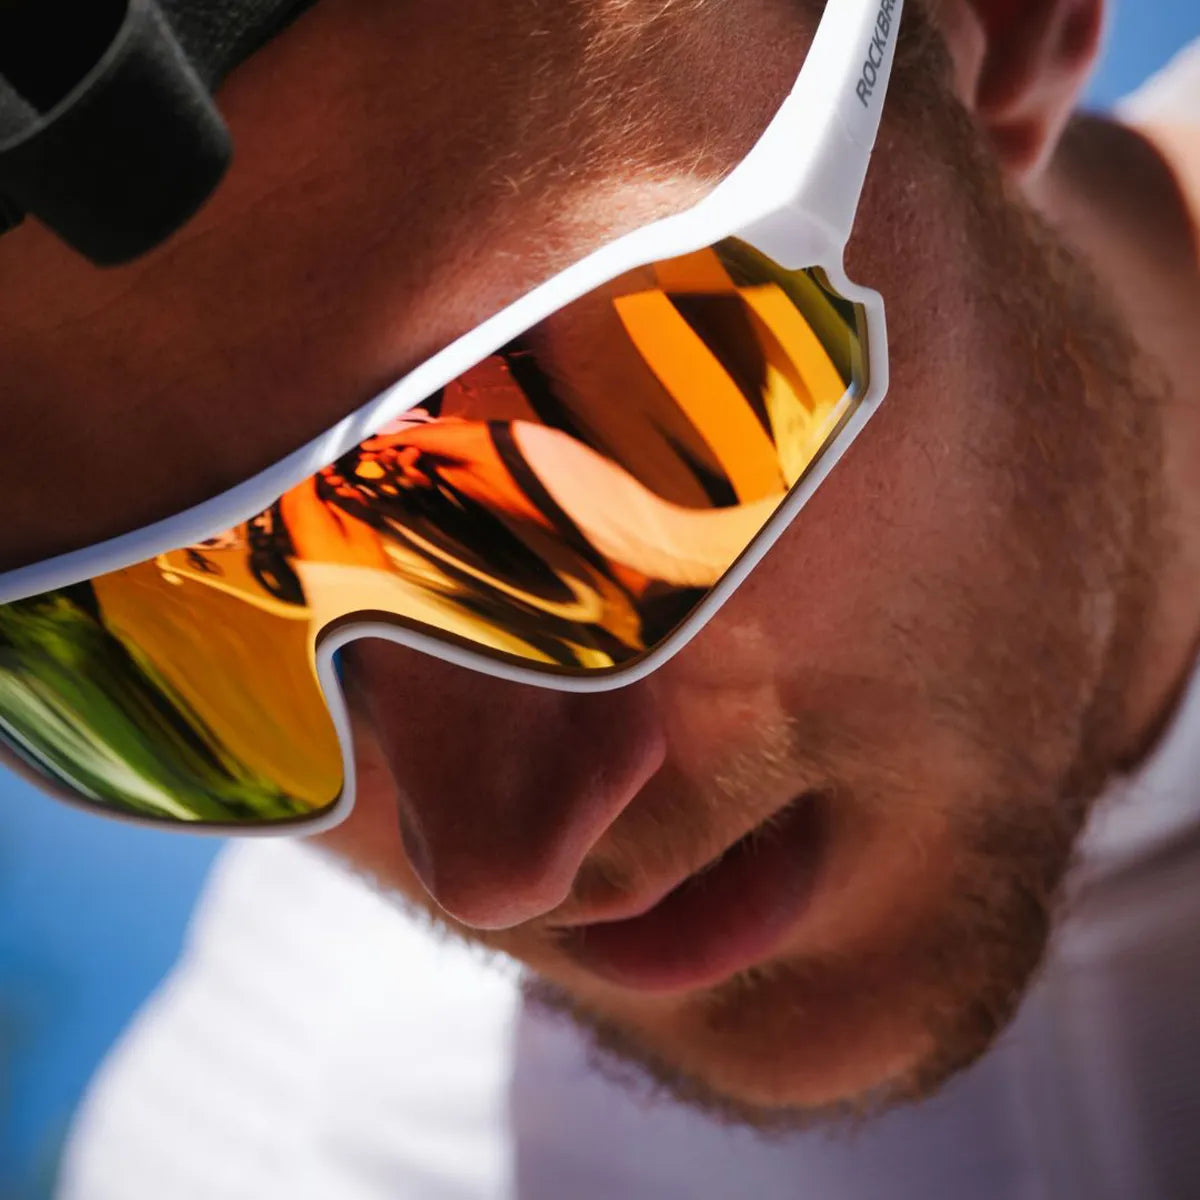
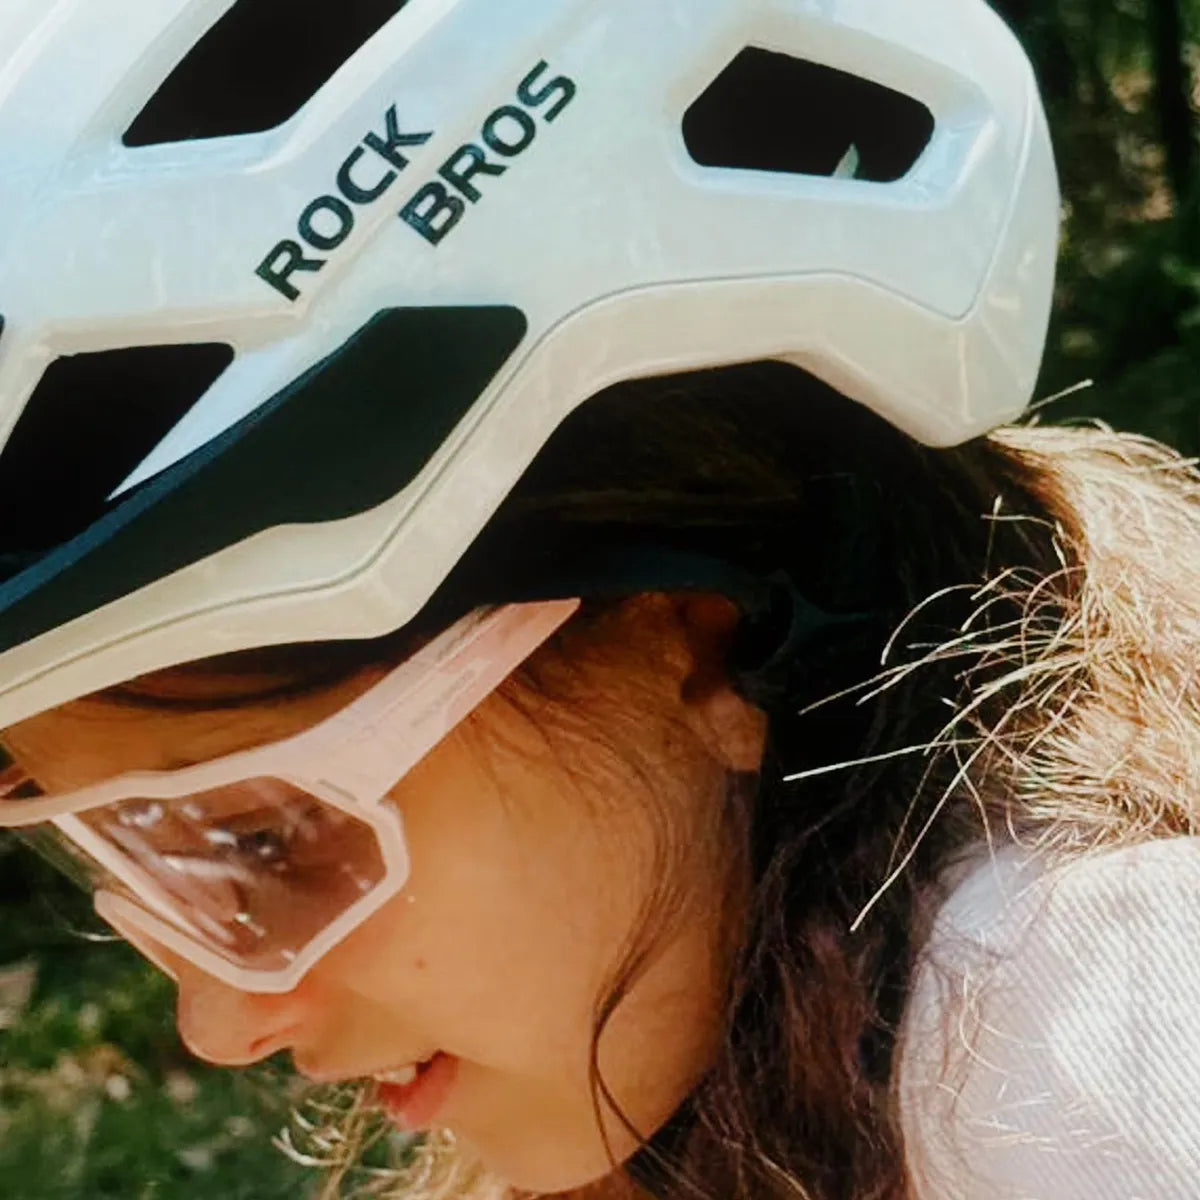
Late-summer nights in Australia are made for riding — warm air and just enough breeze to cool you down after a long day. But once the sun slips below the horizon, your bike lights stop being a “nice-to-have” and become your most important safety gear on the road.
Whether you’re running a quick commute home or stacking kilometres for your next endurance goal, the right lighting setup can be the difference between being invisible. That’s why we put together this late-summer night riding guide to help you dial in your setup before the days get shorter again.
Why Night Riding Requires a Different Safety Mindset
Night riding isn’t necessarily more dangerous. The conditions change, and so must your approach.
Reduced visibility: Drivers’ peripheral vision drops significantly in the dark. Dark clothing blends into the background, and inconsistent street lighting creates blind spots.
Urban vs. suburban risk profiles: In the city, cyclists face intersections and unpredictable pedestrians. In outer areas, lighting gets sparse, roads rougher, and wildlife more active.
Late-summer specifics: As temperatures dip quickly after sunset, condensation and insects can affect visibility, while the glare from a low sun can linger right into dusk.

The 3 Core Pillars of Night Riding Safety
Be Seen – Visibility First
Your lights aren’t just for seeing — they’re for being seen.
Front light: Use both steady and flashing modes. The steady beam helps you see, while a flash alerts others to your presence.
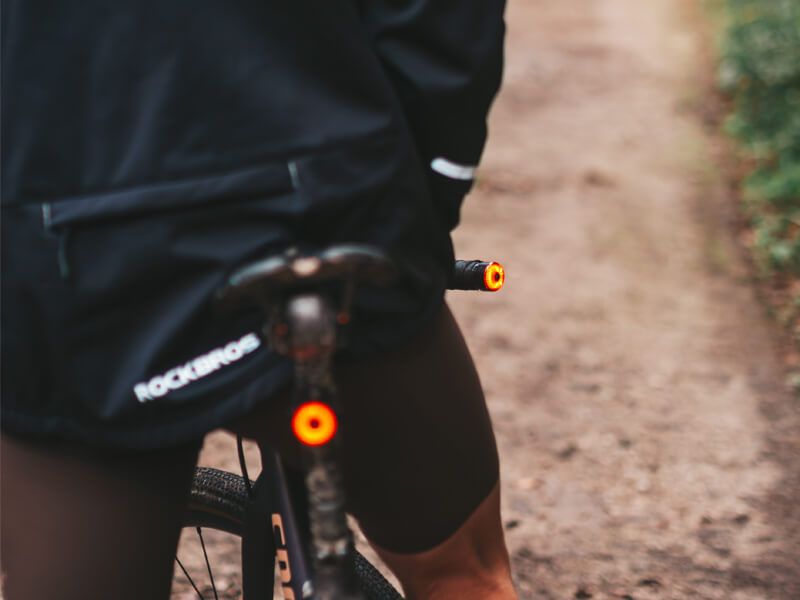
Rear light: A bright red brake-sensing light is your best ally in city traffic.
Side visibility: Often overlooked! Wheel or pedal reflectors and reflective tyre strips dramatically increase side-on detection.

See Clearly – Lighting Strategy
Choose the right light for your terrain:
City commuting: 200–400 lumens, broad flood beam to cover side visibility.
Suburban or rural roads: 600–1000+ lumens, focused beam for longer reach.

Stay Aware – Defensive Riding Techniques
- Anticipate driver behavior — assume they don’t see you until proven otherwise.
- Stay out of blind spots, especially around utes or buses.
- Control your speed on dark descents.
- Ride confidently but predictably; choose strategic lane positions to protect space.
Safety Setup by Rider Type
Commuters:
- High-visibility tail light with auto brake sensing
- Reflective pannier or backpack
- Backup micro light in your bag
Casual evening riders:
- Medium-lumen front light (~300 lumens)
- Lightweight reflective straps
Endurance riders:
- Dual-light setup (high-beam + backup)
- Large-capacity battery or frame-mounted power bank
- Reliable gear for 4+ hour runtimes
Essential Late-Summer Night Riding Gear Checklist
✅ Rear brake light with steady + flash modes
✅ Bag with reflective detailing
✅ Clear or yellow-tinted night lenses
Urban vs Suburban Riding Strategy
| Factor | Urban | Suburban |
| Visibility Distance | Short, obstructed by traffic | Long, open sightlines |
| Priority | Be Seen | See & Be Seen |
| Front Light Output | 200–600 lumens | 600–1200+ lumens |
| Rear Light Mode | Flash + steady combo | Steady, backup flashing unit |
| Battery Consideration | Shorter commutes | Long runtime required |
The Joy of Riding After Dark
When you’re fully prepared, the night transforms. Streets quiet down, air cools on your arms, and every rotation of the pedals melts stress away.
With the right light and mindset, night riding doesn’t just stay safe — it becomes unforgettable.
Take Action
Audit your setup tonight:
- Are your lights bright enough for your route?
- Do you have side reflectors or helmet stickers?
- Have you checked your battery life lately?
Upgrade your gear before autumn daylight shrinks. Explore our Night Riding Essentials Collection — built for Australian roads, riders, and real late-summer nights.


Leave a comment
This site is protected by hCaptcha and the hCaptcha Privacy Policy and Terms of Service apply.